Install Connectors (Cloud-Native Architecture)
Alation Cloud Service Applies to Alation Cloud Service instances of Alation
Applies from version 2024.1.4
Important
This content is applicable only to Alation Cloud Service instances on the cloud-native architecture.
Starting in version 2024.1.4, you can choose to auto-install the latest OCF connector without having to obtain and upload the connector Zip file. You can still choose to upload the connector Zip file if you need to install a specific version of the connector.
Requirements
To install an OCF connector from the OCF Connector Dashboard the following requirements must be met:
You must have the Server Admin role.
If you’re installing an older version of the connector, make sure you have the OCF connector Zip file on your machine.
For installing BI connectors, make sure that the following two alation_conf parameters are set to
true:alation.feature_flags.enable_gbm_v2_connector_strategyalation.feature_flags.enable_lineage_v2
For help with alation_conf, see Using alation_conf.
Note
Alation Cloud Service customers can request server configuration changes through Alation Support.
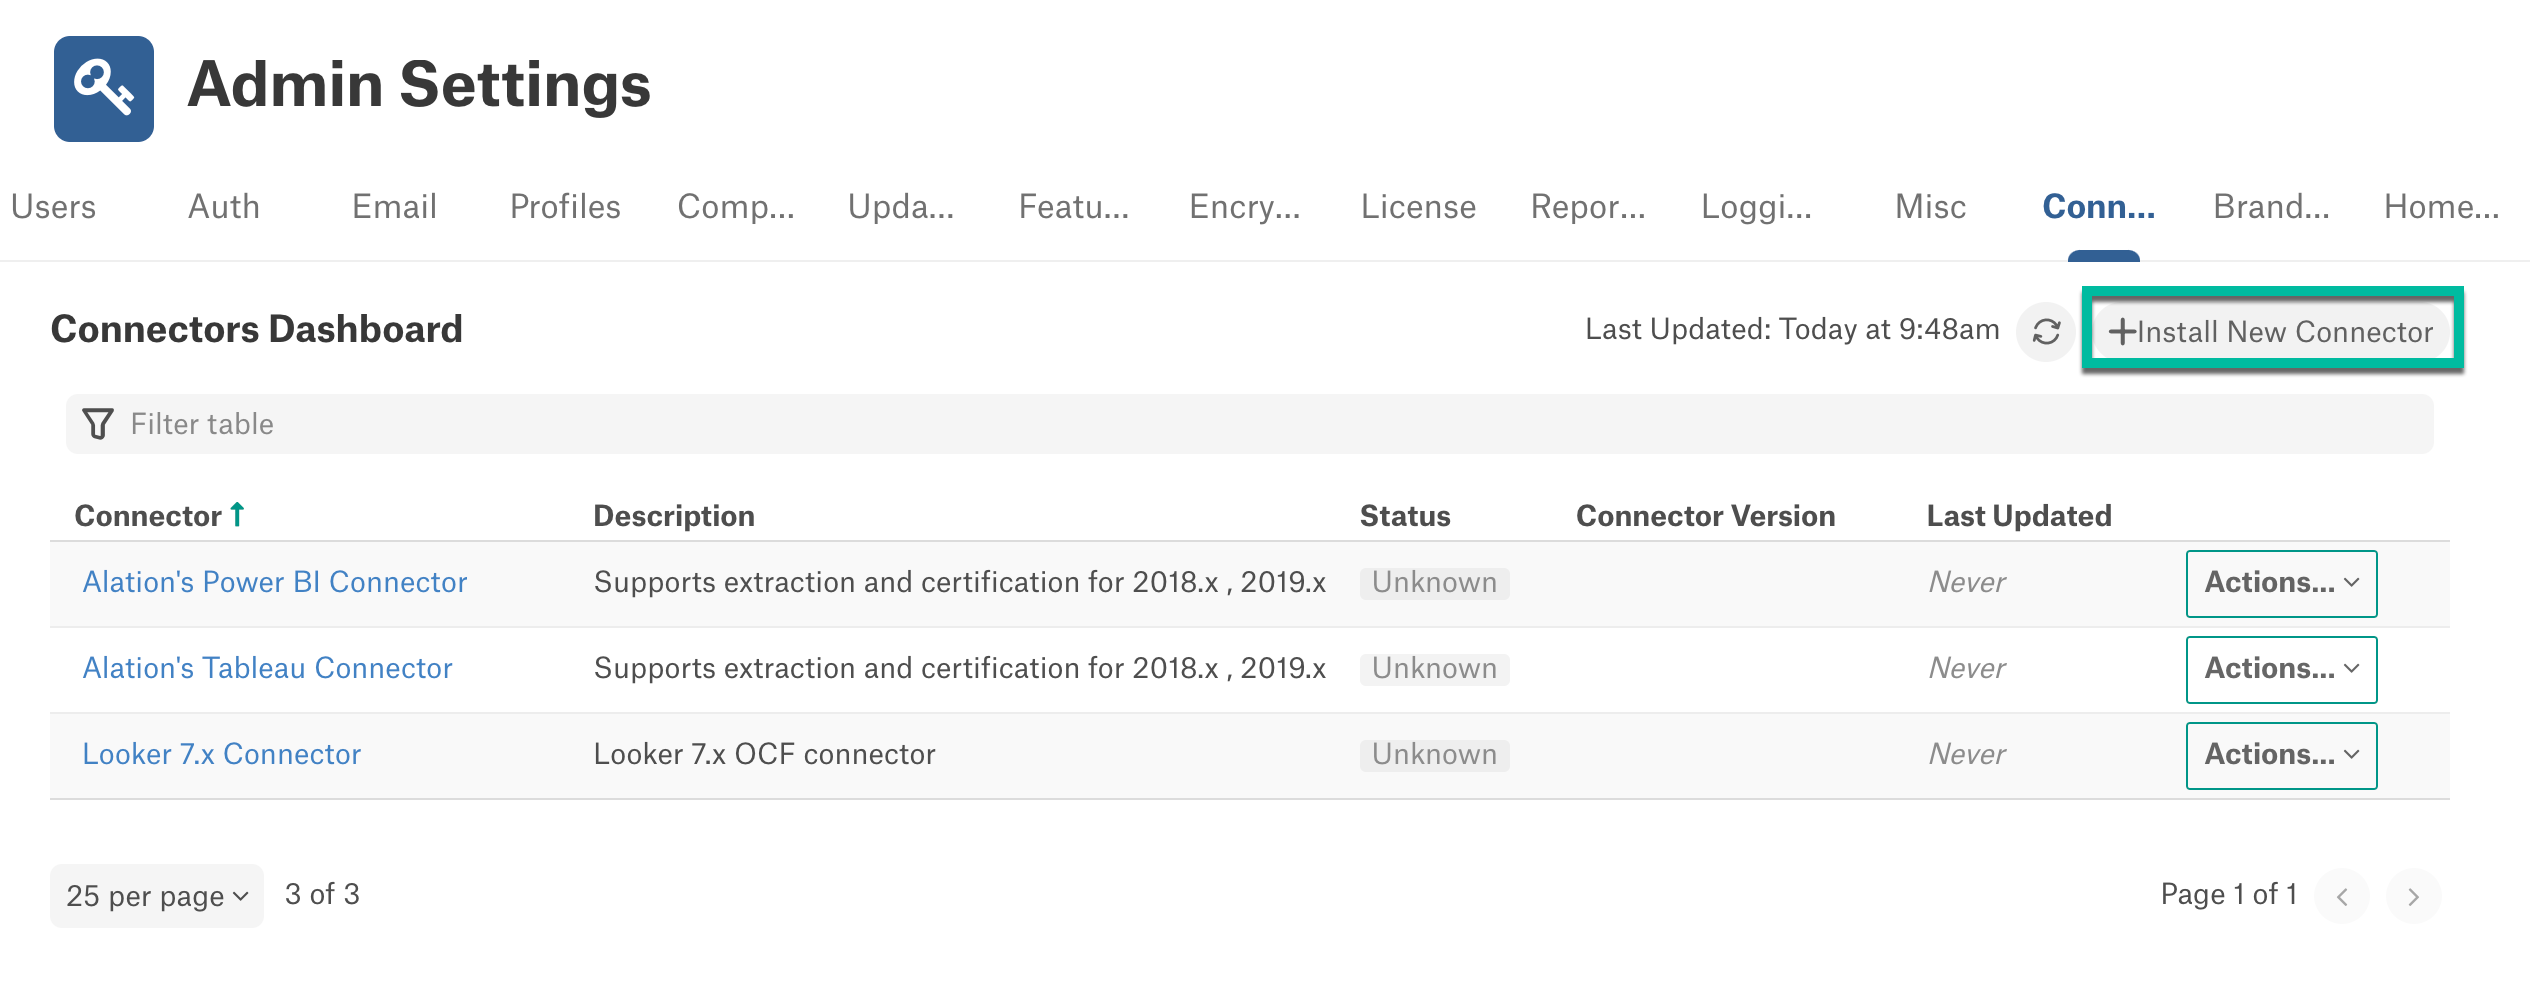
Install an OCF Connector
Perform the following steps to install an OCF Connector:
Click the Install New Connector button on the Connectors Dashboard page.
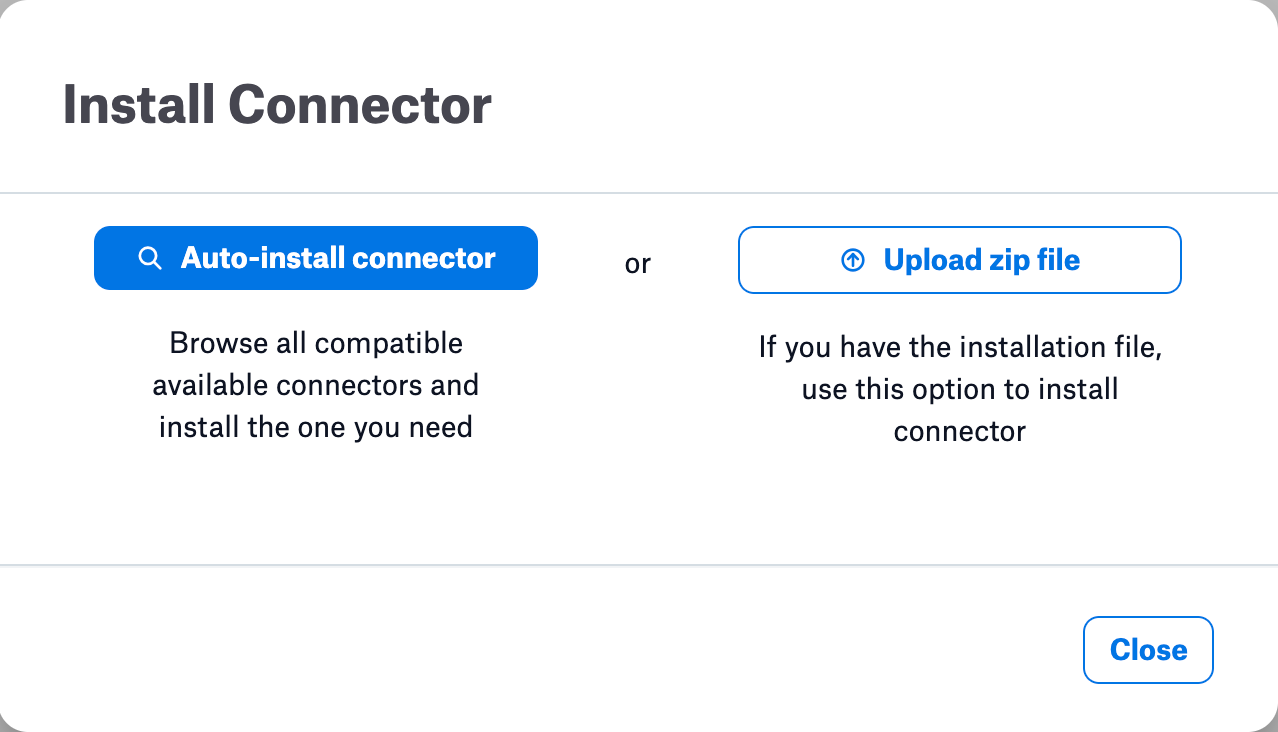
In the Install Connector dialog box, you will get two options to install the connector:
Auto-install connector - Install the latest version of the connector
Upload zip file - Install a specific version of the connector
Auto-Install Connector
Perform the following steps to auto-install an OCF connector:
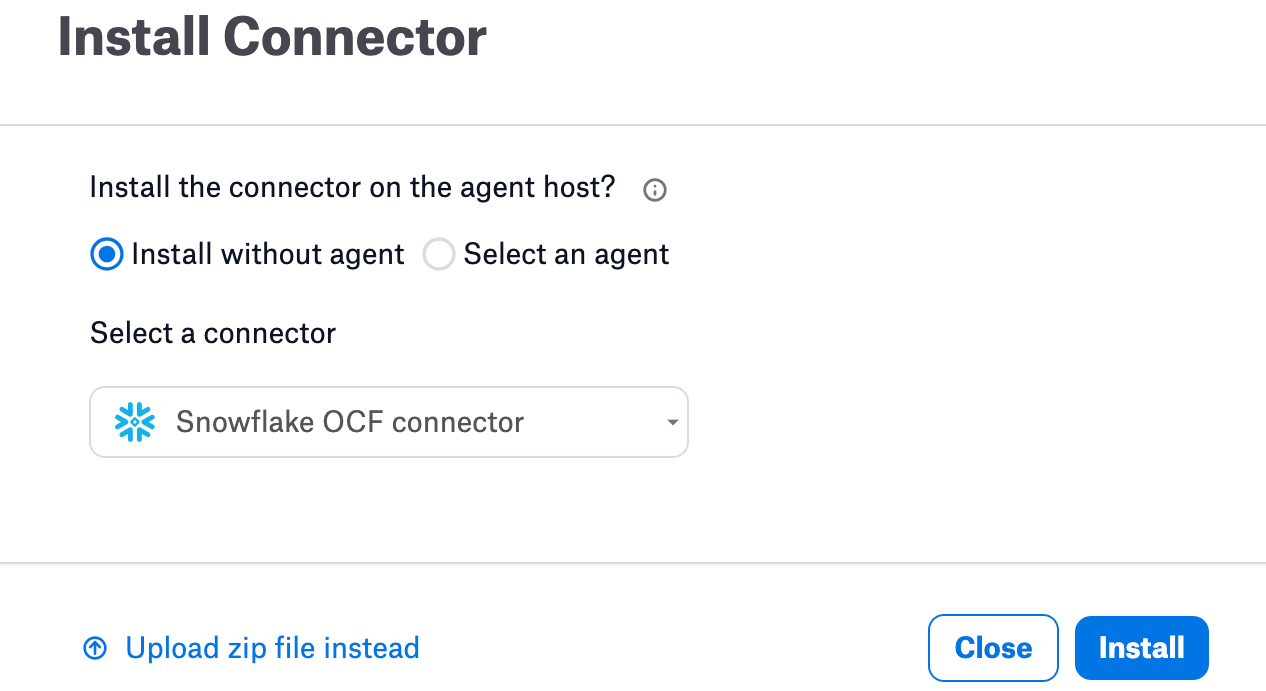
Once you click Auto-install connector button, a Install Connector dialog appears for auto-install.
Click Select an agent, if you want to install the connector on an Agent. The default selection is Install without agent. Select the Agent from the Agent list displayed.
Note
Agent names will be displayed only if it is installed on this instance.
Select the OCF connector from the Select a connector dropdown. You can also search the OCF connector from the dropdown.
Click Install to install the connector. You can also install the connector using Upload Zip File from this window; click Upload zip file instead.
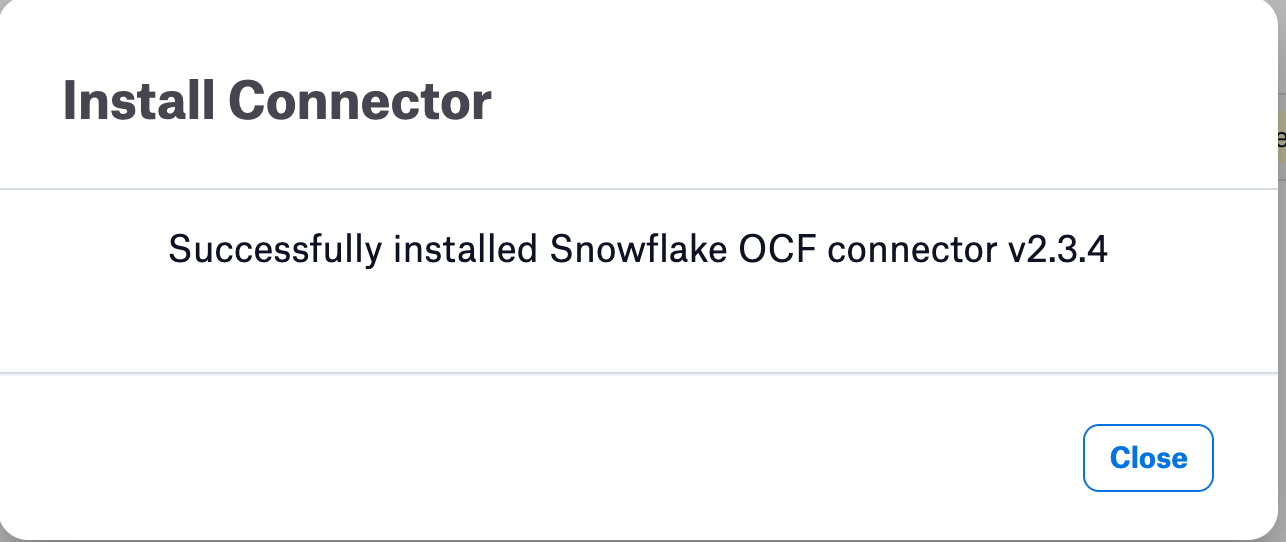
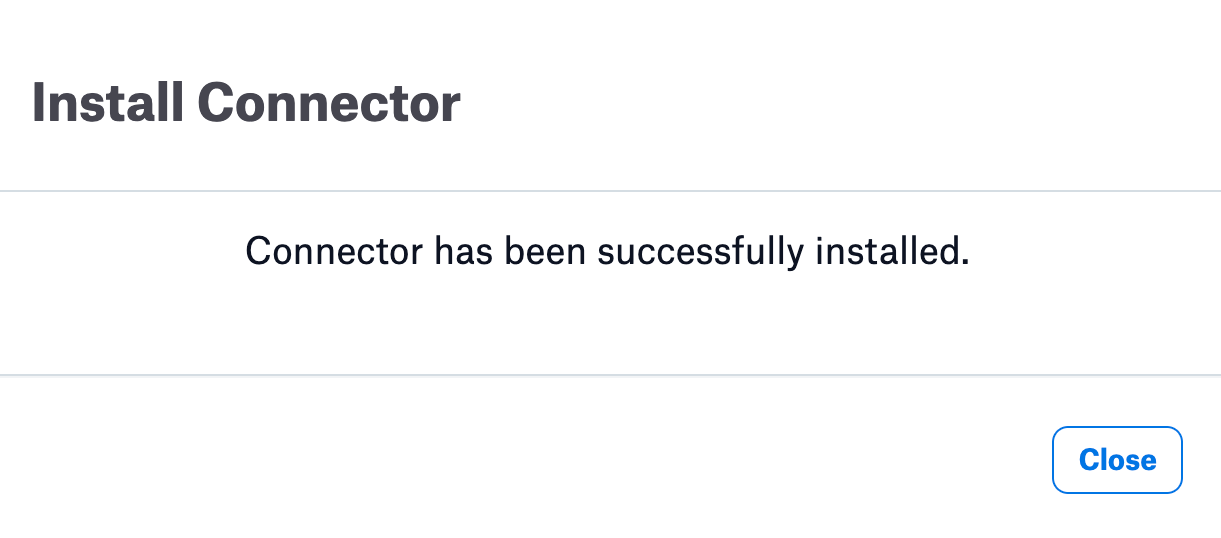
Once the connector installation is complete, a success message will appear. Click Close to close the modal window. The installed OCF connector will be displayed on the Connector Dashboard page.
Upload Zip File
Perform the following steps to install a connector by uploading the connector zip file:
Once you click Upload zip file connector button, a Install Connector dialog appears to upload the connector zip file.
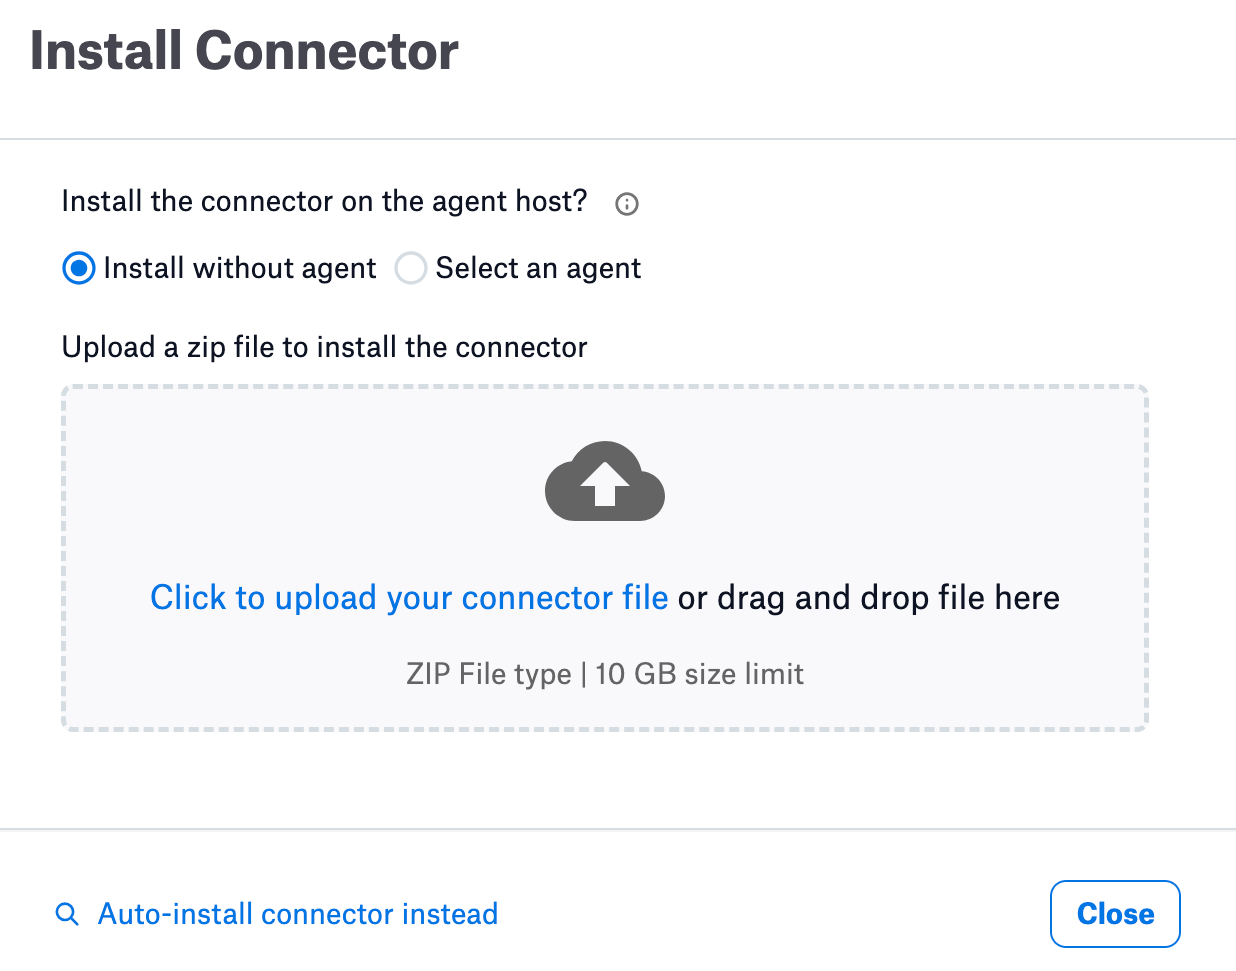
Click Select an agent, if you want to install the connector on an Agent. The default selection is Install without agent. Select the Agent from the Agent list displayed.
Note
Agent names will be displayed only if it is installed on this instance.
Drag and drop or select the OCF Connector Zip file. You can also install the connector using Auto-Install Connector from this window; click Auto-install connector instead.
Once the connector installation is complete, a success message will appear. Click Close to close the modal window. The installed OCF connector will be displayed on the Connector Dashboard page.
Upgrade an OCF Connector
This action will let you upgrade the connector to a newer version. An Upgrade available label will be displayed in the connector dashboard, if an upgrade is available for the connector.
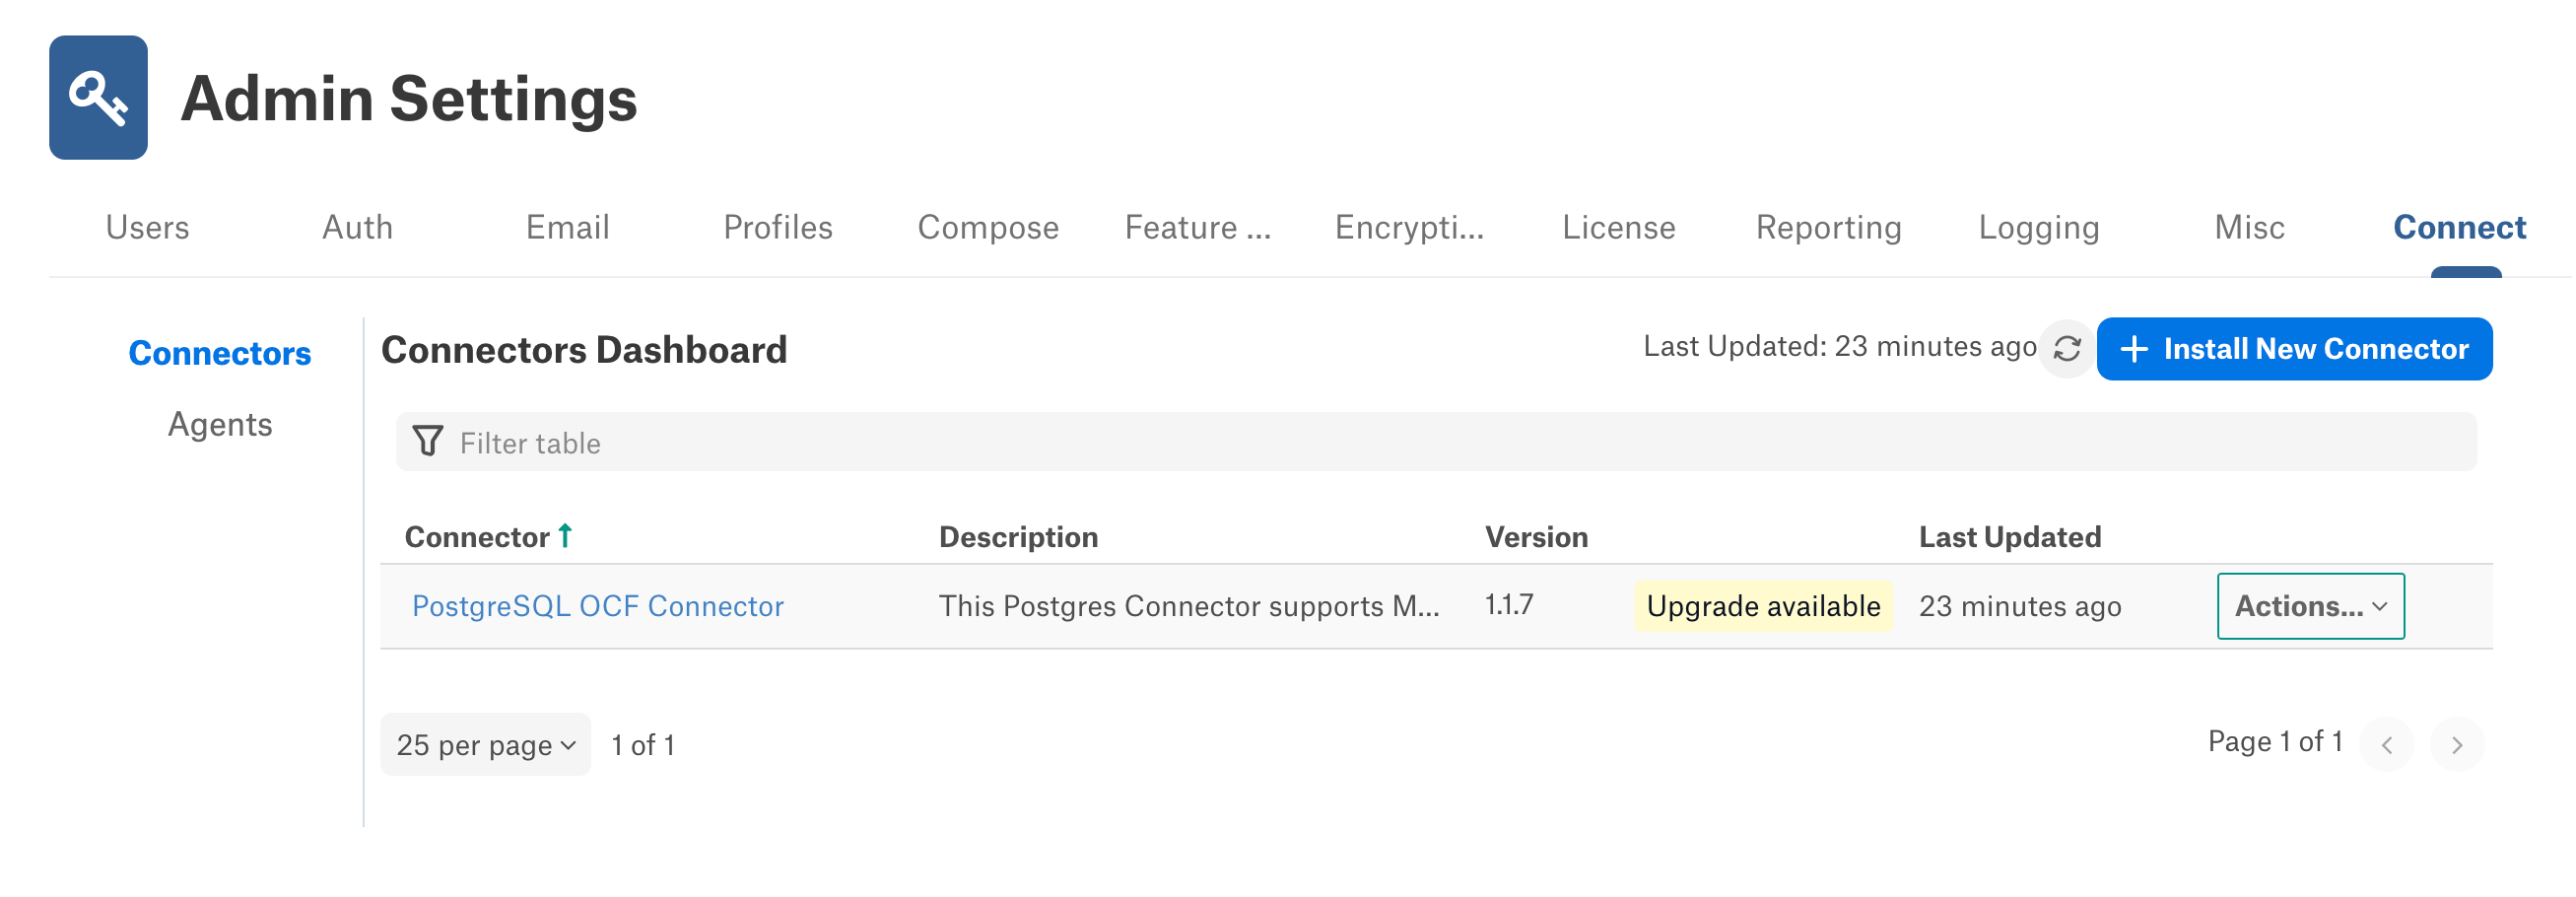
Select Upgrade Connector from the connector’s Actions menu. The Upgrade Connector dialog appears.
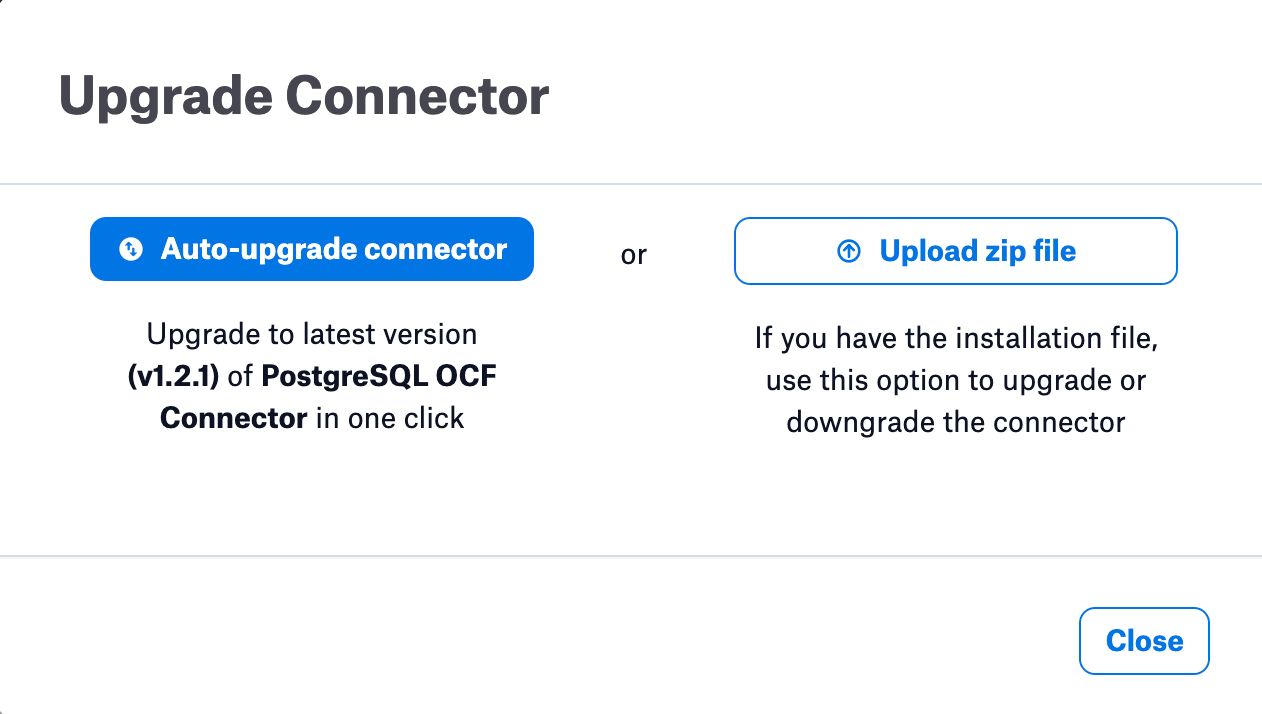
In the Upgrade Connector dialog box, you will get two options to upgrade the connector:
Auto-upgrade connector - Upgrade to the latest version of the connector
Upload zip file - Upgrade to a specific version of the connector
Note
Make sure that you use the same connector type for upgrade or downgrade.
Auto-Upgrade Connector
Perform the following steps to auto-upgrade an OCF connector:
Once you click Auto-upgrade connector button, Upgrade starts and upgrade process dialog appears for auto-upgrade.
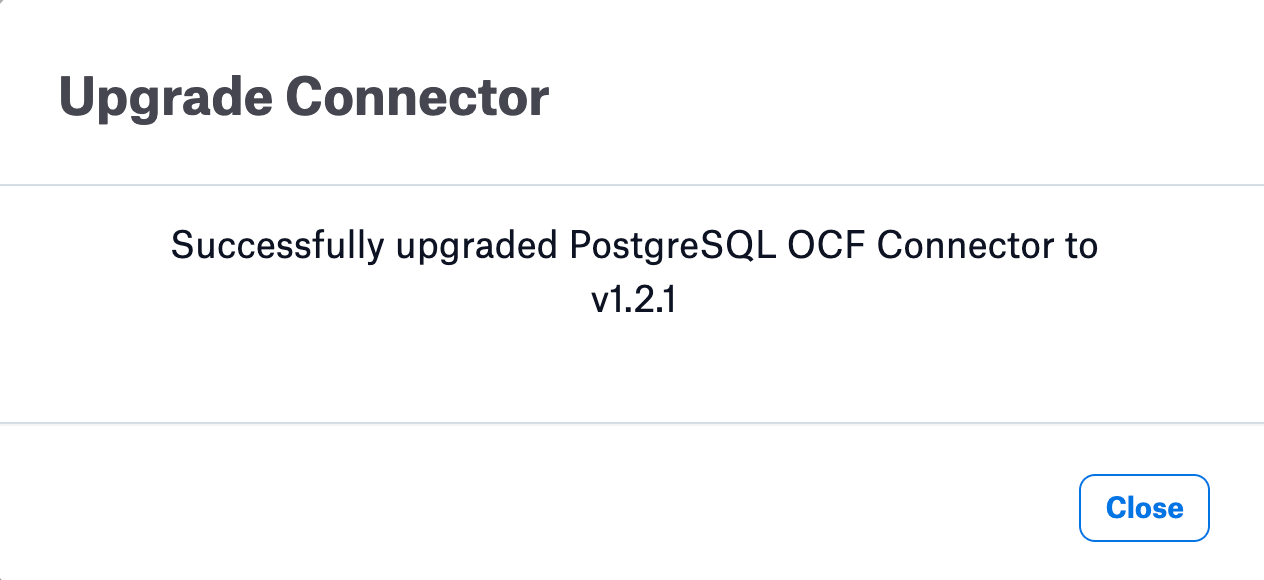
Once the connector upgrade is complete, a success message will appear. Click Close to close the modal window. The upgraded version of OCF connector will be displayed on the Connector Dashboard page.
Upload Zip File for Upgrade
Perform the following steps to upgrade a connector by uploading the connector zip file:
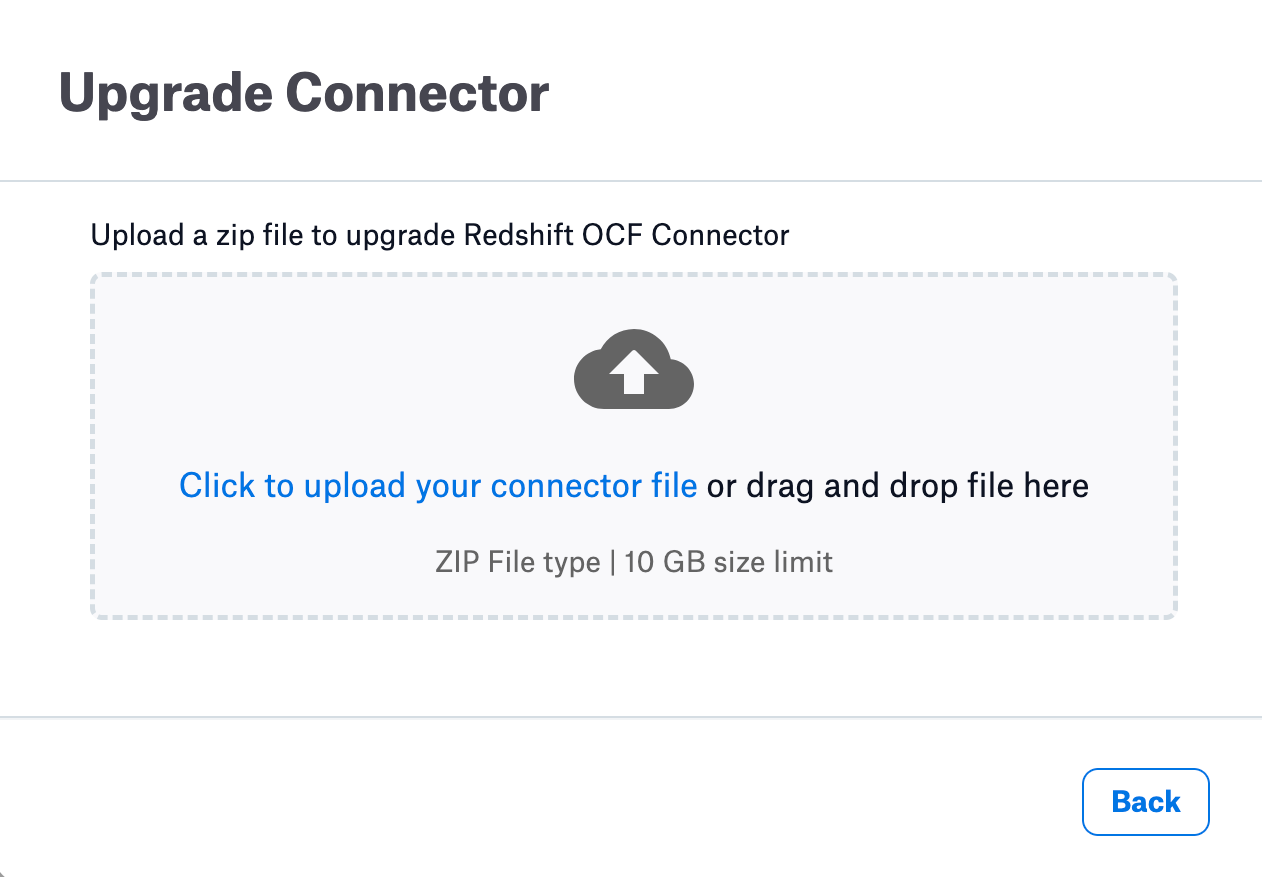
Once you click Upload zip file connector button, a Upgrade Connector dialog appears to upload the connector zip file.
Drag and drop or select the OCF Connector Zip file.
Once the connector upgrade is complete, a success message will appear. Click Close to close the modal window. The upgraded version OCF connector will be displayed on the Connector Dashboard page.
Note
You can also downgrade the connector version using the Upgrade Connector action. To downgrade, drag and drop or select the downgrade version Zip file.
Note
Make sure that you use the same connector type for upgrade or downgrade.